
Here are the materials:

Nail polish remover, a small piece of foil, some toothpicks (not pictured), rhinestones, cotton pads, nail art brushes (one with short bristles, another with longer bristles for striping), acrylic paint (I used magenta, white, and green), top coat, base coat, and the following polishes: MAC Vestral White, Diamond Cosmetics Like Satin, Essie Lilacism, and Color Club Sultry Diva.
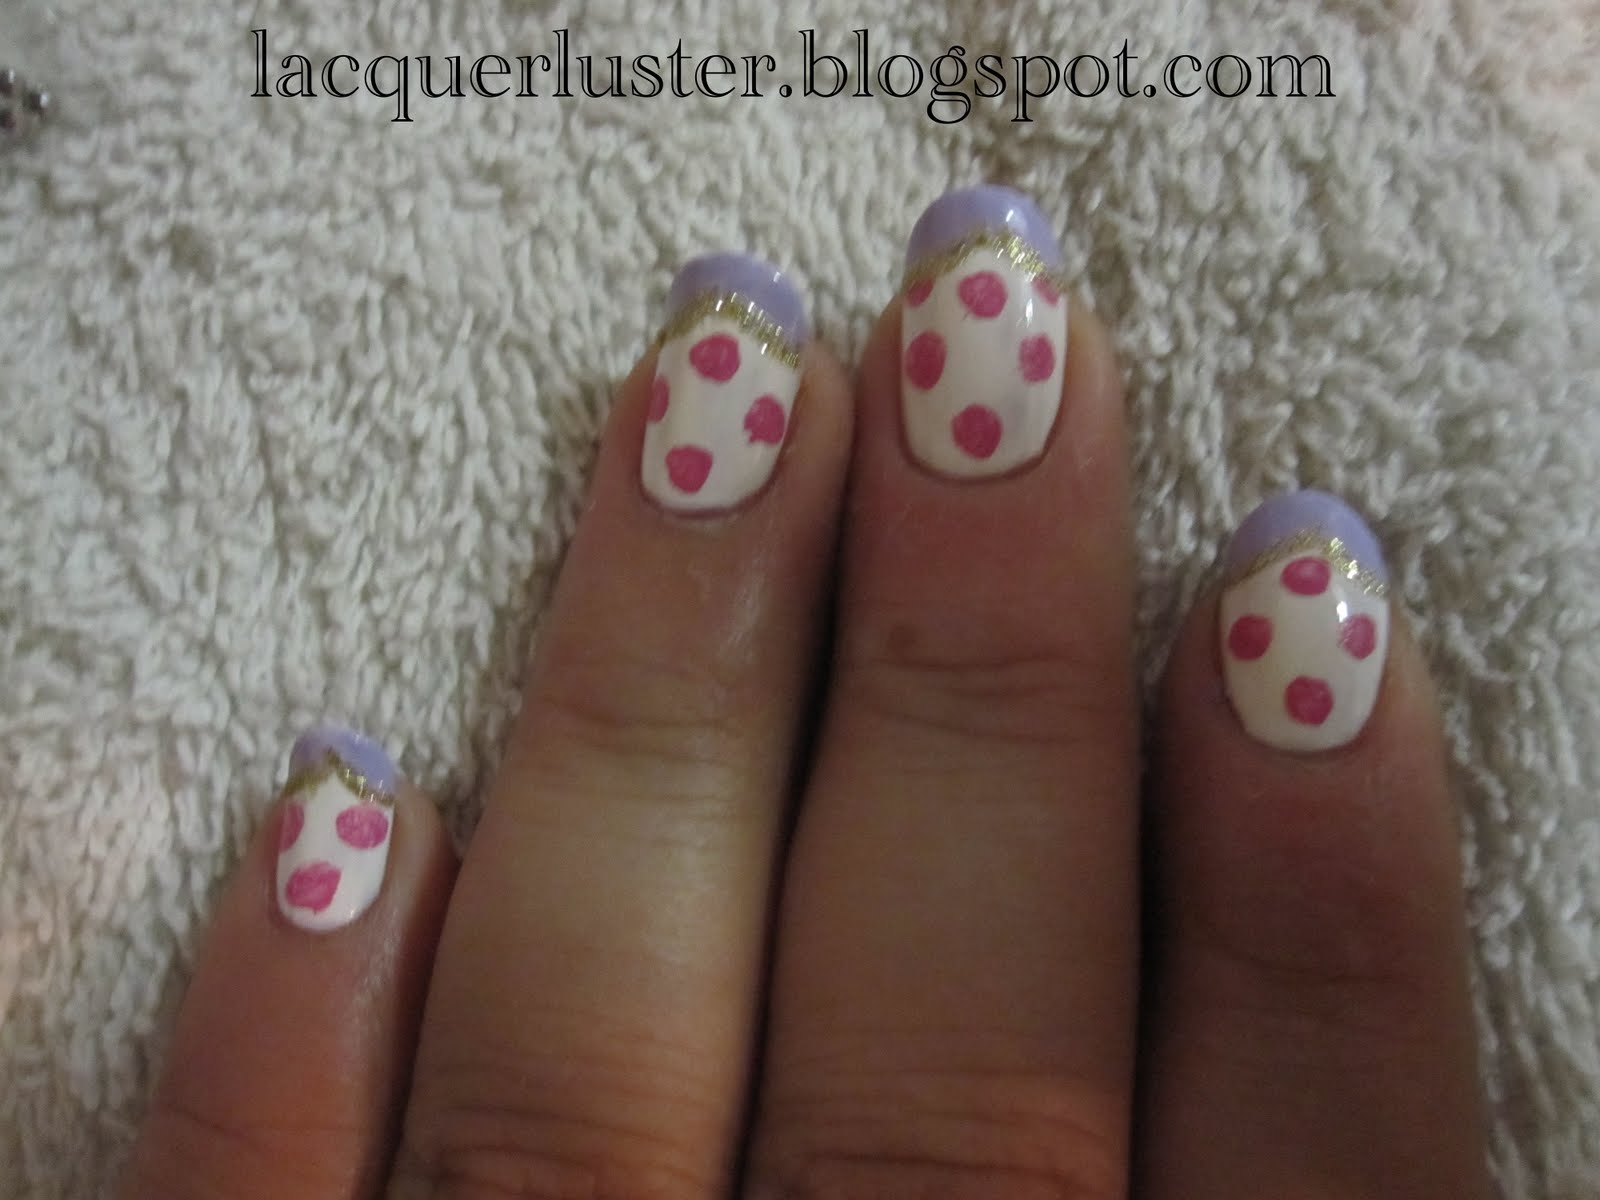
The first step is to paint the base. I used four coats of Vestral White plus Like Satin to give it an ivory tone. I think this makes it look a bit more vintage. Like Satin is really sheer so I thought it would be easier to layer it on top of a white, but you can just use an off-white polish if you have one, of course.
Next, I used the striping brush to paint curves at the tips with Lilacism, then used the bottle brush to fill them in:

The next step is to squeeze out a little magenta paint and add some dots (for the flowers):

This is much more paint that is needed, you really only need a small drop. I used the short-bristled nail art brush for the circles:

For the gold glitter line, I added a generous drop of Sultry Diva to a small piece of foil:

Dropping the polish onto the foil lets it dry a bit so that the glitter can get a bit more concentrated and you don't need as many coats. Add more as needed (I think I needed three or four drops total), and paint over the curves you made with the lavender polish, using the striper brush again:
For the second color on the flowers, I mixed in some white paint with the leftover magenta (I used a toothpick, as you can see):


Using the short-bristled nail art brush, just dab at the dots you made earlier, painting on tiny dots and lines (this might be better to do with a toothpick):

For the leaves, I mixed the green paint with some white:

I used a toothpick to paint them on:

The final step is to glue on some rhinestones, then top it all off with top coat!


Ta-da! It was quite a bit of work, but I love it! So feminine and perfect for spring! This was my first time using acrylic paint for nail art, but I definitely prefer it over using nail polish. The paint is more pigmented and easier to work with so you can do more detailed work with a smaller amount. It also dries much more quickly than nail polish (or perhaps it's because you don't need to use as much). I'm excited to try more nail art!
I think I might do this mani again for my birthday next month; since it will be my second time I hope it will turn out even better!
Very pretty!
ReplyDeleteIt's lovely! Did you use normal acrylic paint? Or is it some special kind of nail acrylic paint?
ReplyDeleteSO pretty! I love all the artwork, and I love your acrylics. Where did you get those? I want some!!!
ReplyDeleteOh, by the way, it's Claudia!!
ReplyDelete@Diana, thank you!
ReplyDelete@Millou, I think it says it's specifically for nails, but I know you can use regular acrylic paint.
@HeHe24, hi Claudia, I know it's you! I bought them on ebay, here's the listing: http://cgi.ebay.com/ws/eBayISAPI.dll?ViewItem&item=180439518728&ru=http://shop.ebay.com:80/%3F_from%3DR40%26_trksid%3Dp3984.m570.l1313%26_nkw%3D180439518728%26_sacat%3DSee-All-Categories%26_fvi%3D1&_rdc=1#ht_1616wt_962
There are lots of sets on ebay, but I happened to like this color combination. It takes a long time to ship, though.
Amazingly cute! Love it for spring time :)
ReplyDeletei really like ur nails! awesome job =)
ReplyDeletevery pretty, love the flower
ReplyDeletelove love it!!!