Showing posts with label MAC. Show all posts

Wednesday, October 19, 2011

Candy Corn Mani

Whew, can't believe it's been so long since I posted! Things were pretty hectic for a while with midterms and papers but it's a bit calmer for now. I actually did another mani with spiderwebs but I forgot to take pictures and it didn't turn out quite the way I had hoped anyway, so here's my second Halloween-themed mani:

Yum, candy corn! One of everyone's favorite candies, I'm sure! 

This one's easy to do. I started out with MAC Vestral White as a base, then used Zoya Sienna for the orange, and Milani Yellow Whiz for the tips. It was a bit too many coats though, so next time I'd recommend doing the entire nail orange and then adding the white and yellow on top. 

Of course, I just had to buy some candy corn for the picture and ended up eating almost the entire bag.

Friday, October 7, 2011

Hello Kitty French

I did my friend Sara's nails recently. The design was her idea, she wanted pink polish with a Hello Kitty French tip accent (with a pink bow). I wish I had been able to make it a bit neater but I think it's pretty cute overall!

I used Hello Kitty for MAC Something About Pink and Vestral White.

Who doesn't love some Hello Kitty? ^^

Thursday, September 1, 2011

Black and White Op Art Mani

I recently started school and I thought it would be fun to do something special for the first day. Here is the design I wanted to try:

Op art! It kind of reminds me of one of those Escher poster you see in every dorm room (including mine back in the day). I've wanted to do this one for a while now and it's not as hard as it looks! If you look closely, basically every nail is painted in three sections. To get started, I did one coat of base coat and then taped off the first sections:

Next, I painted them either white or black:

I then added the stripes, pulled off the tape, then taped off the second sections:

Again, I painted a white base and then added stripes. For the second section, you have to be careful not to paint over the first section too much, as the tape only protects the tips of the nails, not the part that has already been painted.

Peel off the tape:

No need to tape off the third section, just be careful not to paint over the second sections:

Add stripes:

This is what is looks like after some clean-up:

I don't have any pyramid studs so I finished it off with clear and black square rhinestones instead. They're unnecessary though, I think I'll skip them next time. Add some top coat and you're done! Here's the finished product:


I used American Apparel Hassid for the big black sections and MAC Vestral White and Sinful Colors Time Off (their black striper polish) for the stripes. I wouldn't recommend either of these. If you can, choose a one-coat white (I've heard Sally Hansen Whirlwind White from the Insta-Dri line is good) and my own striper brush. I found that the one that came with the Sinful Colors polish was really messy. The polish itself was also a bit thick, it might have been easier to use acrylic paint instead. I know better for the next time I do it but I still think it's pretty cool!

Thursday, July 21, 2011

3D Rose

I really like 3D acrylic nail art but I need a LOT more practice so I don't do it very often. Every once in a while though, I like to just sit down and practice a bit. This is the result of my last practice session.
Here is my 3D acrylic rose with flower and leaf rhinestones. The peach color is Essie Van D'Go and the white is MAC Vestral White. It actually took me about a good hour to make two decent roses, haha. Honestly, I'm not super happy with the overall design (I think the rhinestones are a bit much) but I'm pretty proud of the flower! Now if only I could do it on the first try...

Saturday, July 16, 2011

French with Catrice Mona Lisa Is Staring Back

It's been a while since I did a nice, plain French and I really wanted to try out a new Catrice color I received in a swap so I went for it.
This is Mona Lisa Is Staring Back (with MAC Vestral White on the tips). It's a sheer, peachy nude with gold flecks. I am wearing two coats, one more would bring it to full opacity or you could stop at one for a sheerer look. I actually like this color a lot more than I anticipated. I am not usually a fan of sheer nudes but the gold in this one makes it more interesting.

One more reason to wish that Catrice was sold in the states!

Monday, July 4, 2011

Fourth of July Mani

Happy Fourth, everyone! I wish I had been able to post this before today but I actually didn't even think about doing a 4th of July mani until late last night. Here it is:

The white base is MAC Vestral White, the red is OPI Rock-apulco Red, the blue is Blue from love & beauty (sold at Forever 21, same as L.A. Girl), and the glitter polish is Deborah Lippmann Today Was a Fairytale. I used a striping brush (you can find them cheap on ebay) for the stripes. My right hand actually turned out okay, though the stripes are a bit thicker and messier, haha. I realized after finishing my mani that it looked a bit abstract but if you want to make it look more reminiscent of a flag you can always to horizontal or vertical stripes instead of diagonal, or paint on stars or use star-shaped glitter instead of a glitter polish.

Hope the weather is nice for all of you and you get to eat some yummy BBQ!

Tuesday, June 14, 2011

Marble Confetti Mani

I've always thought that water marble manis looked cool but I had no idea how difficult it was! I had to experiment with a few different polishes before I got it right and also messed up a few nails before I got some decent patterns (decent, not great!).

I started with a white base, MAC Vestral White:

These are the colors I used:
L to R: Diamond Cosmetics Orange Blush, Color Club Almost Famous, Nfu-oh 553, American Apparel Office, Color Club Take Me To Your Chateau

Here is the first nail:
I couldn't find tape so I had to clean up all the polish from my skin later (didn't want to use Vaseline or something oily b/c it might leave a film in the water, preventing the drops of polish from spreading correctly).

Afterward, I added some heart-shaped glitter and colorful rhinestones. Here's the finished product:
It's not quite what I hoped for but I still think it looks fun, like birthday party decorations!

For more detailed instructions on water marbling (and better designs) check out this blog:
http://mysimplelittlepleasures.blogspot.com/
She's so pro! Hopefully I'll be just as good some day!

Friday, April 22, 2011

March/April Haul

Whew! Really been buying way too much stuff!

Tokidoki Robbery Palette - I've been contemplating this purchase for a long time but I saw it on sale for $25 so I decided it was finally time. I really like all the colors!

Urban Decay Show Pony palette - Six pretty colors, a travel-size 24/7 pencil in Zero, and a mini Primer Potion, all on sale at sephora.com for $16!

Essie It's Genius, China Glaze LOL, China Glaze Gamer Glam - Got the Essie on sale at Trade Secret and the CGs on ebay.

Cover Girl - Found Midnight Forest and Sand at the Dollar Tree ($1 for both!) and the other two were purchased on ebay.

Cover Girl Orange Slush, Pink Ice, Arctic, and Krypton-Ice - ebay

Chameleon Blue Sky, Calypso, Blue Frost, Galactic - According to the company's website, these can only be found at Rite Aid.

Chanel Mimosa - Love yellows, I hope this one has a Chanel-worthy formula.

Lippmann Bad Romance, Across the Universe, Lady Sings the Blues, Today Was a Fairytale - My first Lippmanns! Of course I would go for all the glitter, haha.

MAC Little Girl Type and Ice Cream Cake - Pretty pastels! I returned Mischievous Mint.

Clarins Patient Pink, 230(!), Pink Shimmer - I bought 230 and the other two were included as free gifts. I will have to take some proper pictures some day, 230 really is as amazing as everyone says!

I was supposed to be banned until our vacation next week, but most of these were purchased with gift cards so it doesn't really count, right? :p

Friday, April 15, 2011

Milani Gems over MAC Something About Pink

I did this one a while ago, because I was feeling festive:

Milani Gems over MAC Something About Pink. This is the new version of Gems, with pink glitter. I don't have Lippmann Happy Birthday to compare, but I think they are pretty much the same except for the fact that the small glitter in Gems is hexagonal and the small glitter in HB is square. This didn't turn out quite as well as I had hoped; I am wearing three coats of each polish but I think it would have looked better with just one or two coats of Gems. I love the new Gems though! The pink glitter makes it more like party glitter rather than a holiday polish.

Happy Friday!

Monday, April 11, 2011

MAC Quite Cute Bottle Comparisons

I picked these up on Friday and decided to do some quick bottle comparison pics.

Here's Ice Cream Cake (middle) next to Something About Pink (left) and Diamond Cosmetics Cotton Candy. ICC is a beautiful, blue-toned Barbie pink, and I really don't have anything like it. Definitely a keeper.

Here is Little Girl Type next to Essie Lilacism. This picture isn't the greatest but LGT is paler and a bit more gray-toned than Lilacism. I love pastels so I think it's worth owning both, but if you're not a huge lavender fan you can skip this one.

Mischievous Mint (middle) next to Revlon Minted and Essie Mint Candy Apple. Compared to Minted, MM is a bit darker and more blue-toned. Compared to MCA, MM is more green and just a shade darker. I think I will be returning this one since I have so many mint greens already.

Hope this helps!

Saturday, March 5, 2011

Cover Girl AntiFreeze Over MAC Spirit of Truth

I saw AntiFreeze on Scrangie and I thought it was pretty, but it runs about $12 shipped on ebay. I couldn't bring myself to spend that much on drugstore polish. I know it's available at some Dollar Tree locations but I couldn't find it here. I finally saw it on ebay for around $5 so I jumped on it. I received it in the mail and I was excited, but it looks pretty unassuming--ugly bottle, weird green base, just kinda blah. I was so wrong!


I truly think this could be my best polish purchase ever. I can't stop looking at my nails! I know Essie Starry Starry Night is the big lemming for everyone and I've never seen it IRL, but I really think this is better. SSN is kind of like what the night sky looks like from earth but AntiFreeze (over a dark color) is what the sky looks like in space! This is two coats over Spirit of Truth, obviously you can use more for more glitter. AntiFreeze is a mix of silvery-green iridescent glitter and electric blue(!) iridescent glitter. The electric blue is what really makes it amazing. I really adds a lot of depth, making it look almost 3D over darker polishes. Over Spirit of Truth, it definitely looks like the glitter is in the polish, not just on top. I couldn't capture its true beauty in my pictures, but this could be my favorite polish out of all the ones I own. I normally think back-ups are kind of silly, but I NEED a back-up of this (or two, or three).

As amazing as it is, there were some cons. It took quite a long time to dry, though it wasn't much worse than many others I've tried. I waited a good 20-30 minutes for it to dry by itself before I decided to just add some Seche Vite. It was still soft underneath, but it's pretty much dry now, ten hours later. I can still make some dents if I press hard enough. Also, the smell was terrible! I'm guessing it's not 3-free and I was smelling one of those big 3 chemicals? The smell has dissipated, though.

Spirit of Truth I had no real complaints about. It was very easy to work with and offered great coverage; you could probably get away with one coat but I did two just in case there were any bald spots. Not the most unique color, but if you are looking for a true navy cream that doesn't look black, this is a good one! Plus, the packaging is so freaking cute!

Go out to your local Dollar Tree and hunt this one down!

Thursday, February 24, 2011

Floral Print w/ Lavender Tips

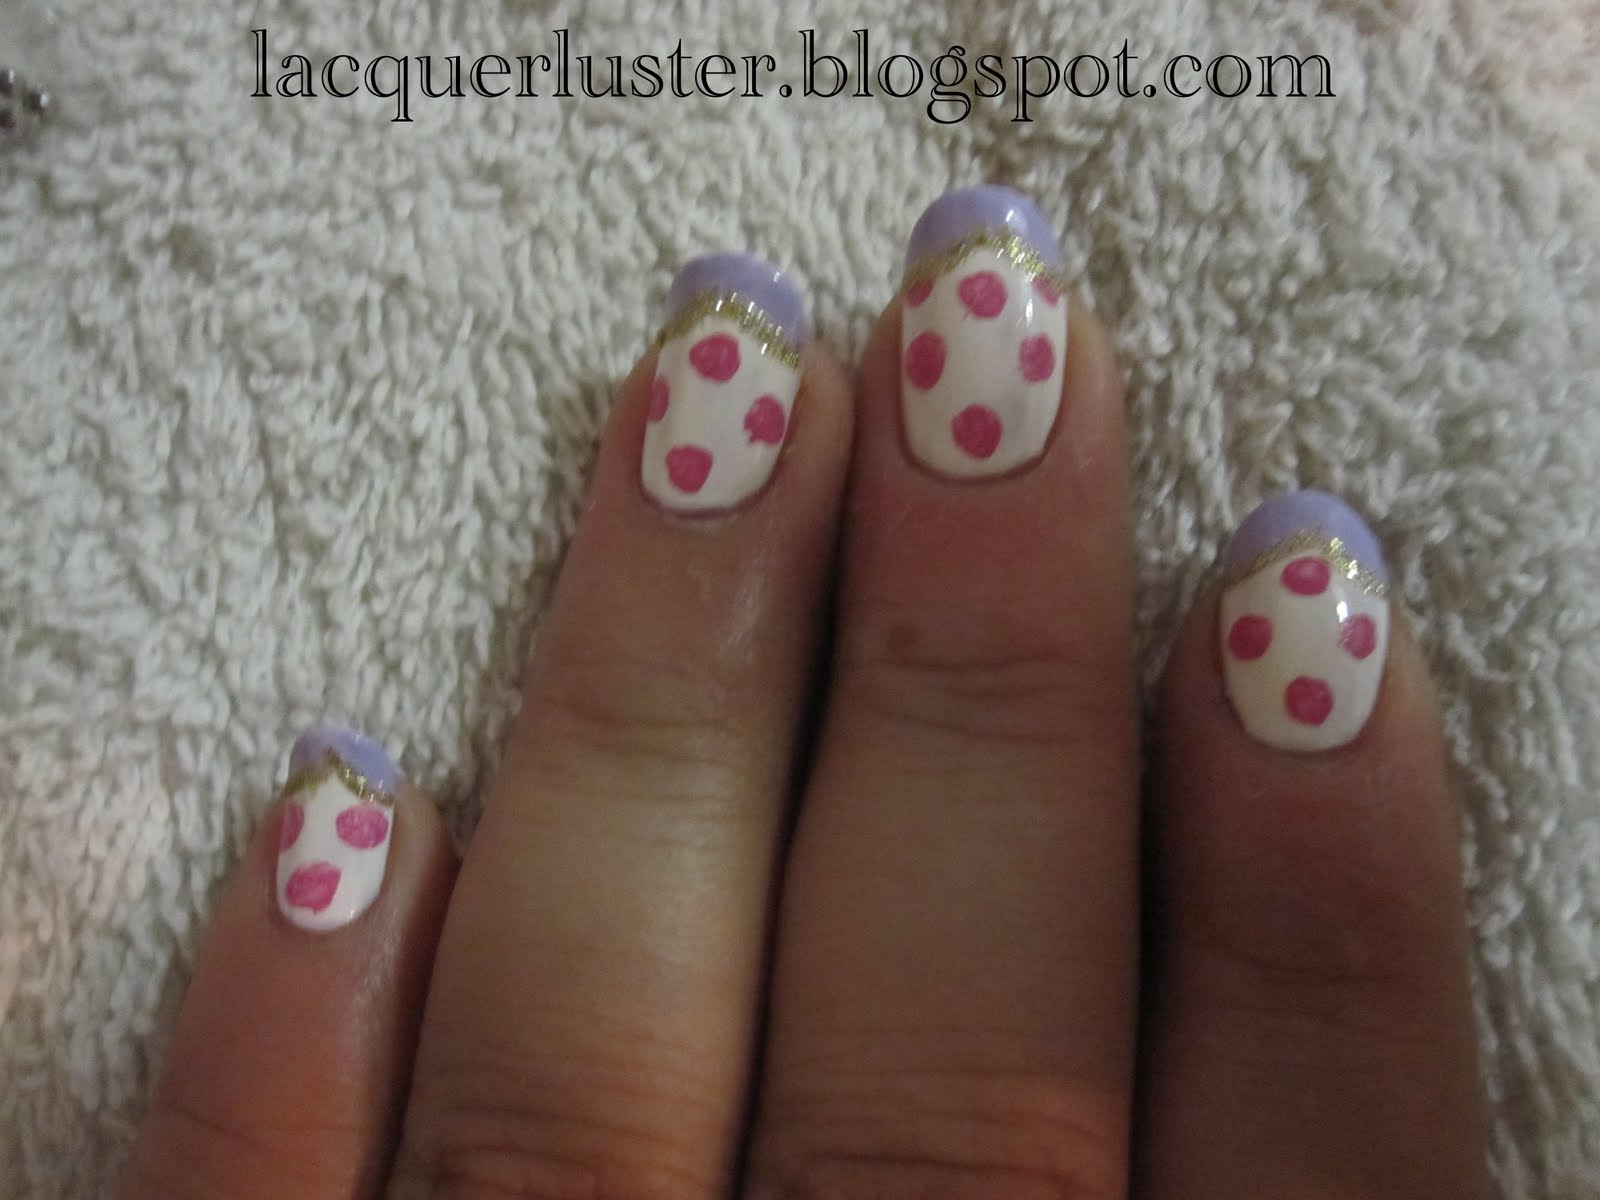
This design was inspired by a post in one of my favorite nail blogs, Cynful Nails. I've wanted to do it since I first saw it, but I wanted to grow my nails out a bit and file them into an oval shape. Isn't it cute? Mine didn't turn out quite as well, but I still love it. I think it might look better on longer nails.


Here are the materials:

Nail polish remover, a small piece of foil, some toothpicks (not pictured), rhinestones, cotton pads, nail art brushes (one with short bristles, another with longer bristles for striping), acrylic paint (I used magenta, white, and green), top coat, base coat, and the following polishes: MAC Vestral White, Diamond Cosmetics Like Satin, Essie Lilacism, and Color Club Sultry Diva.

The first step is to paint the base. I used four coats of Vestral White plus Like Satin to give it an ivory tone. I think this makes it look a bit more vintage. Like Satin is really sheer so I thought it would be easier to layer it on top of a white, but you can just use an off-white polish if you have one, of course.

Next, I used the striping brush to paint curves at the tips with Lilacism, then used the bottle brush to fill them in:


The next step is to squeeze out a little magenta paint and add some dots (for the flowers):

This is much more paint that is needed, you really only need a small drop. I used the short-bristled nail art brush for the circles:


For the gold glitter line, I added a generous drop of Sultry Diva to a small piece of foil:

Dropping the polish onto the foil lets it dry a bit so that the glitter can get a bit more concentrated and you don't need as many coats. Add more as needed (I think I needed three or four drops total), and paint over the curves you made with the lavender polish, using the striper brush again:


For the second color on the flowers, I mixed in some white paint with the leftover magenta (I used a toothpick, as you can see):


Using the short-bristled nail art brush, just dab at the dots you made earlier, painting on tiny dots and lines (this might be better to do with a toothpick):


For the leaves, I mixed the green paint with some white:


I used a toothpick to paint them on:


The final step is to glue on some rhinestones, then top it all off with top coat!


Ta-da! It was quite a bit of work, but I love it! So feminine and perfect for spring! This was my first time using acrylic paint for nail art, but I definitely prefer it over using nail polish. The paint is more pigmented and easier to work with so you can do more detailed work with a smaller amount. It also dries much more quickly than nail polish (or perhaps it's because you don't need to use as much). I'm excited to try more nail art!

I think I might do this mani again for my birthday next month; since it will be my second time I hope it will turn out even better!