Thursday, March 3, 2011

Chanel Pastel Skittles

I knew I wanted to try one of the Chanel pastel colors I have but I couldn't decide which, so I did all of them!


I thought the combination of colors by itself looked a little random, so I added some square rhinestones and little beads to pull it together a bit more. I think it's a nice, subtle way to add a little something without getting too complicated. The colors I used were Riva, Lilac Sky, and Pêche Nacrée.

Riva is a light blue cream with blue "hidden shimmer." The shimmer really isn't very noticeable. I found the polish to be rather sheer, but not too streaky. I am wearing four thin coats.

Lilac Sky is a lilac cream with a white shimmer finish. I found this one to be a bit sheer and also rather streaky. I am wearing three coats.

Pêche Nacrée is a peach frost. I found this one to be sheer, streaky, and you can kind of see the brushstrokes. Four thin coats.

I'm surprised at the formulas of these colors because the Khaki collection colors went on like butter! In any case, I'm sure these colors have lots of dupes out there and the money might be better spent on those. They certainly are pretty, though.

Monday, February 28, 2011

OPI Last Friday Night over Diamond Cosmetics It's Electrifying!

I did this mani a couple of weeks ago but didn't have a chance to post it until now! I really wanted to try LFN over a color that kind of matched the base, so that it would look like the glitter was embedded in the polish rather than just painted on top. I think I found a pretty good match!


For a while I wasn't that into the idea of glittery topcoats, I preferred polishes that were more opaque. I'm really having fun with this one, though! Can't wait to try it with some other blues.

I also recently got a Bergdorf Goodman gift card and used it to buy some Chanel polishes:

I want to try these out soon. Honestly I probably wouldn't have purchased them with my own money but I didn't mind "splurging" with a gift card.

Thursday, February 24, 2011

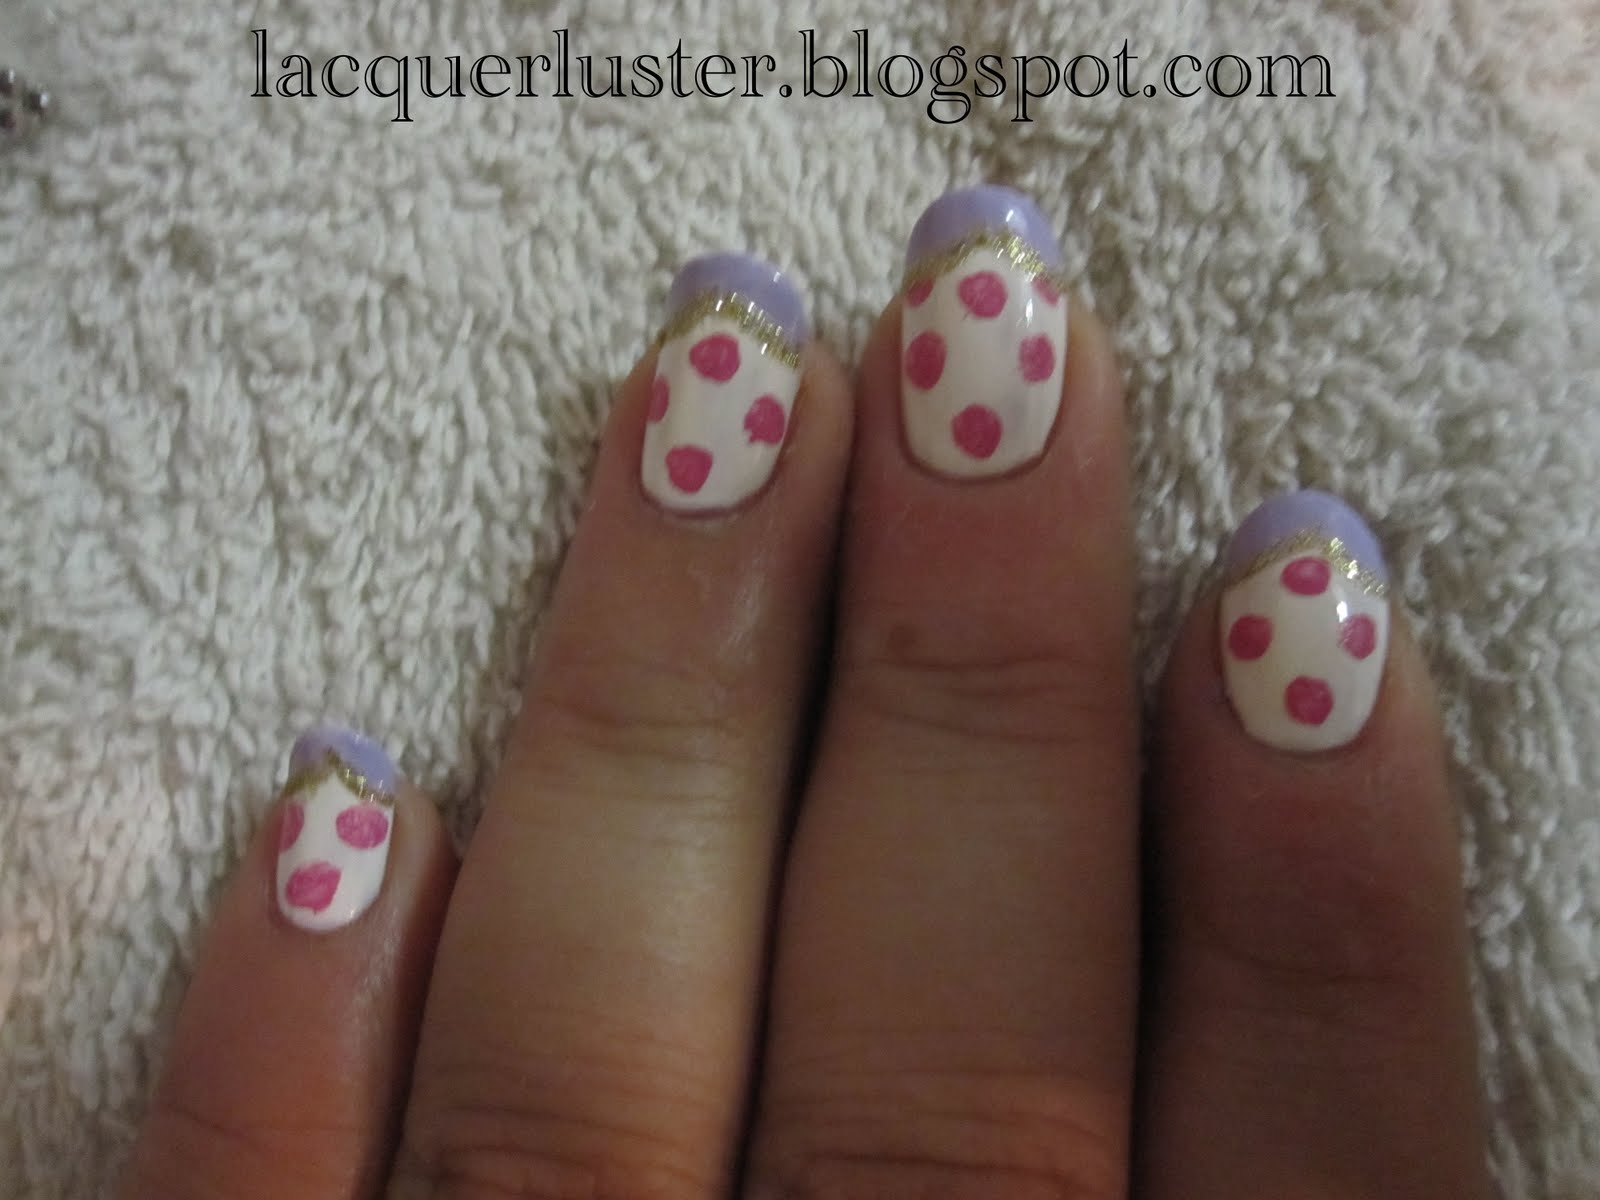
Floral Print w/ Lavender Tips

This design was inspired by a post in one of my favorite nail blogs, Cynful Nails. I've wanted to do it since I first saw it, but I wanted to grow my nails out a bit and file them into an oval shape. Isn't it cute? Mine didn't turn out quite as well, but I still love it. I think it might look better on longer nails.


Here are the materials:

Nail polish remover, a small piece of foil, some toothpicks (not pictured), rhinestones, cotton pads, nail art brushes (one with short bristles, another with longer bristles for striping), acrylic paint (I used magenta, white, and green), top coat, base coat, and the following polishes: MAC Vestral White, Diamond Cosmetics Like Satin, Essie Lilacism, and Color Club Sultry Diva.

The first step is to paint the base. I used four coats of Vestral White plus Like Satin to give it an ivory tone. I think this makes it look a bit more vintage. Like Satin is really sheer so I thought it would be easier to layer it on top of a white, but you can just use an off-white polish if you have one, of course.

Next, I used the striping brush to paint curves at the tips with Lilacism, then used the bottle brush to fill them in:


The next step is to squeeze out a little magenta paint and add some dots (for the flowers):

This is much more paint that is needed, you really only need a small drop. I used the short-bristled nail art brush for the circles:


For the gold glitter line, I added a generous drop of Sultry Diva to a small piece of foil:

Dropping the polish onto the foil lets it dry a bit so that the glitter can get a bit more concentrated and you don't need as many coats. Add more as needed (I think I needed three or four drops total), and paint over the curves you made with the lavender polish, using the striper brush again:


For the second color on the flowers, I mixed in some white paint with the leftover magenta (I used a toothpick, as you can see):


Using the short-bristled nail art brush, just dab at the dots you made earlier, painting on tiny dots and lines (this might be better to do with a toothpick):


For the leaves, I mixed the green paint with some white:


I used a toothpick to paint them on:


The final step is to glue on some rhinestones, then top it all off with top coat!


Ta-da! It was quite a bit of work, but I love it! So feminine and perfect for spring! This was my first time using acrylic paint for nail art, but I definitely prefer it over using nail polish. The paint is more pigmented and easier to work with so you can do more detailed work with a smaller amount. It also dries much more quickly than nail polish (or perhaps it's because you don't need to use as much). I'm excited to try more nail art!

I think I might do this mani again for my birthday next month; since it will be my second time I hope it will turn out even better!

Tuesday, February 22, 2011

China Glaze Fault Line Over OPI Bring On The Bling

I received my China Glaze Crackle polishes today! I played around with them a bit, just painting them over my current mani:

I messed up the purple one a bit, tried to apply it differently but it didn't quite work out.

I also did a comparison of CG Black Mesh next to OPI Black Shatter:

Black Mesh on pointer and ring, Black Shatter on middle and pinky. It seems like you can get either more or less cracks with both, it just depends on how you apply it. Black Mesh dries a bit more slowly, though, so it's easier to work with. I'll have to do a bit more experimentation.

Here's my first Crackle mani:


Fault Line over OPI Bring On The Bling. I was dying to use this over a glitter, and I thought a multi-colored glitter base would be really interesting. I love this combo! I did two coats of BOTB; I wasn't worried about it being completely opaque, but coverage was good.

I wasn't sure at first if I really liked these cracking polishes, but I guess it just takes the right combination!

Monday, February 21, 2011

Recent Nail Polish Hauls

Bought these in the past ten days or so:

MAC Wonder Woman Spirit of Truth and Obey Me


Hello Kitty Bubble Gum and Purple Sprinkles


pa A113, OPI Black Shatter, Last Friday Night, Teenage Dream, and Castledew Purple Miracle. Here is one coat of each over Hard Candy Sky:

Thumb to pinky: Black Shatter, Purple Miracle, Teenage Dream, Last Friday Night, A113. I will definitely need some practice applying Shatter. Last Friday Night kind of reminds me of Purple Sprinkles, I wonder how they compare?

I love playing with all of these, can't wait to really test them out!